I've been conducting a highly technical and scientific experiment where I try to make anything and everything look cute by putting a face on it. I am proud to announce that preliminary findings have been very encouraging.
Experiment No. 1: "Pea on a Fork" is definitely cuter with a face.
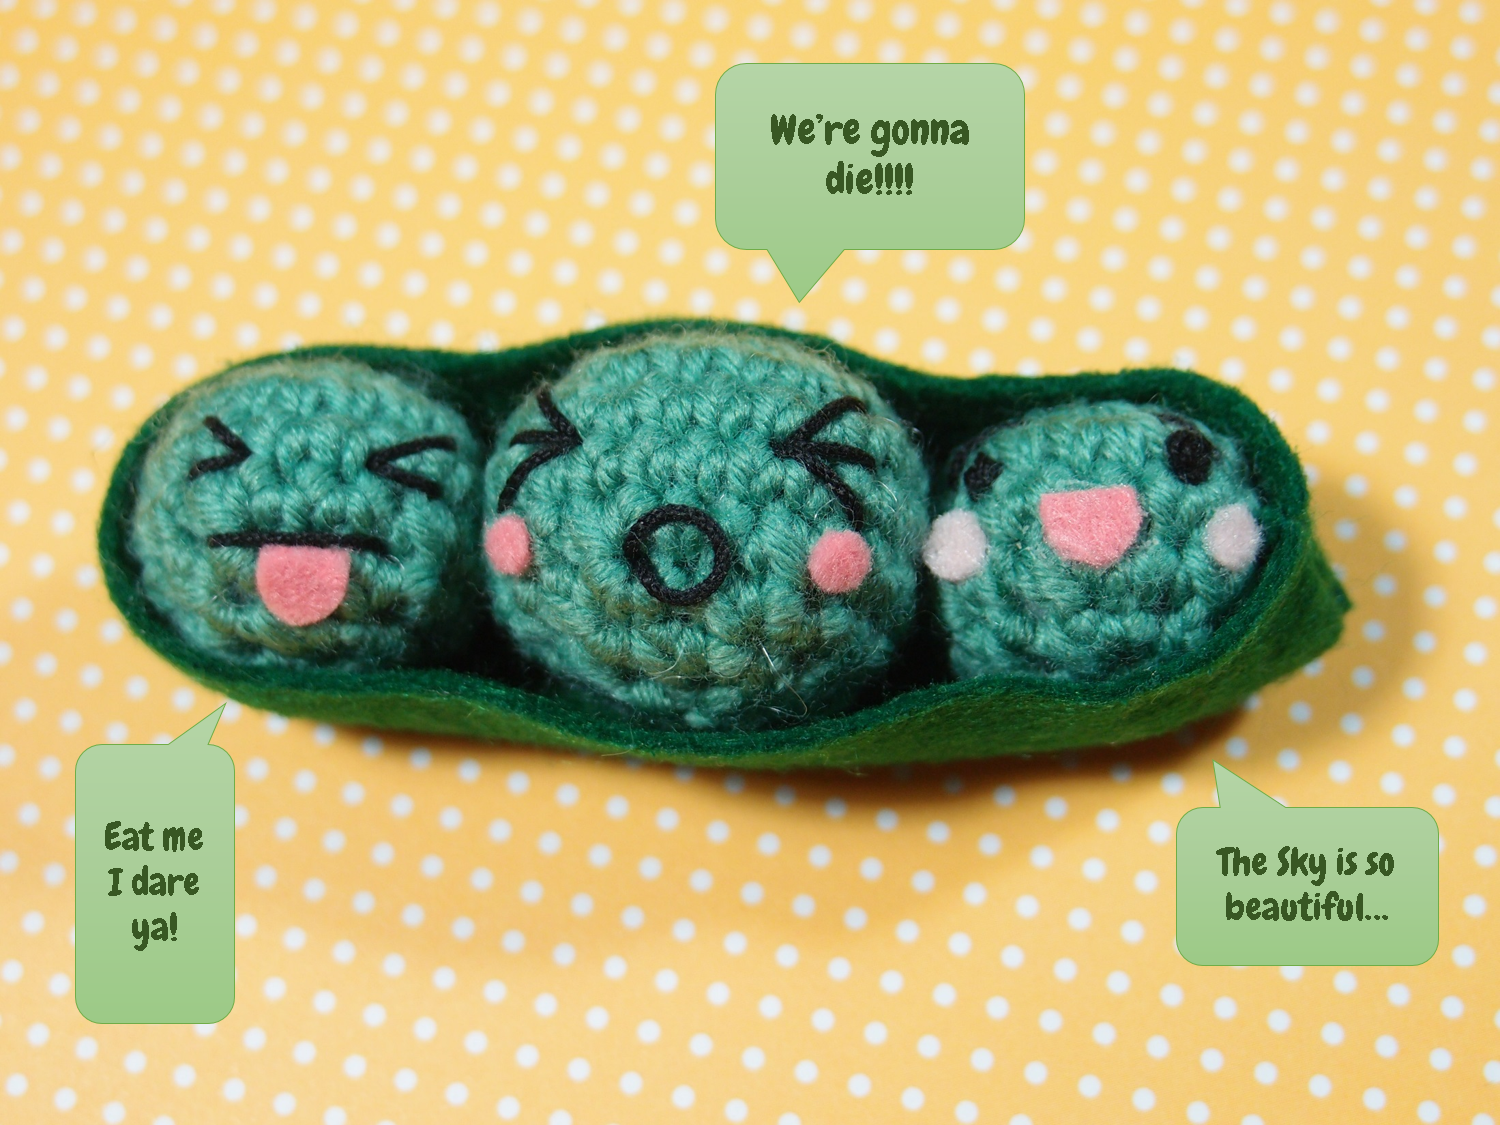
So cute in fact that I decided to crochet him and his pod mates.
 |
| Little charlie has managed to escape! |
They are super easy to make so perfect as a fun project for a beginner. If you sew the peas into their pod you'll just need to add a strap on the end to make them into an uber cute keyring.
You will need:
- Green yarn - super fine or 3 ply gauge suitable for a 3mm hook;
- 2.5 or 3mm hook (depending on the yarn, using a slightly smaller hook will give you tighter stitches that'll look nicer on a small project);
- Green and pink felt;
- Tapestry needle;
- Black embroidery and green sewing thread;
- Polyester filling; and
- Craft glue.
Middle Pea:
Make a magic ring and work in rows.
Row 1: 6sc into the ring - (6st)
Row 2: 6inc* - (12st)
Row 3: (1sc, 1inc) 6 times - (18st)
Row 4: (2sc, 1inc) 6 times - (24st)
Row 5: 24sc - (24st)
Row 6: (2sc, 1dec**) 6 times - (18st)
Row 7: (1sc, 1dec) 6 times - (12st)
Row 8: 6dec - (6st)
Finish***
* Inc = 2sc in each st ** Dec = sc2tog in next st *** Finish by weaving the yarn tail into the last row to give a tighter finish.
Side Peas (make two of these):
Make a magic ring and work in rows.
Row 1: 6sc into the ring - (6st)
Row 2: 6inc - (12st)
Row 3: (1sc, 1inc) 6 times - (18st)
Row 4: 18sc - (18st)
Row 5: (2sc, 1dec) 4 times, 2sc - (14st)
Row 6: (1sc, 1dec) 4 times, 2sc - (10st)
Row 6: 5dec - (5st)
Finish
Pea Faces:
Thread your tapestry needle with the black embroidery thread and off you go! Let your imagination be your guide. I decided that two of them should have pained expressions (because I'm evil) and one happy. Feel free to make them happy/ suffering/ angry/ depressed/ wasted as you wish. I've cut tiny pieces of pink felt and glued them on as tongue, cheeks and mouth. If I make another set, you'll bet there'll be a pink bow too somewhere...
Pea Pod:
The size of your peas may vary depending on your choice of yarn and the amount of stuffing you've put into them. So to ensure your pod fits your peas nice and snug, measure the length of your 3 peas side by side then double it to get the length of felt you'll need (e.g. my peas measure 7cm together so I needed a piece of felt 14cm long). Then measure the depth of the largest pea and add 2cm to get the width for your felt (e.g. my middle pea measures 3cm deep so my felt ended up measuring 14cm by 5cm).
Once you've cut out your felt, fold it in half and sew the ends together as close to the edge as you can. If you want to make this into a dangly decoration for your bag/ phone/ keyring etc - you should put a piece of ribbon in between the felt at this stage before you sew the ends together. Remember though to put the long end of the ribbon inside the felt piece and have the short end near the seam because the pod will be turned inside out when it is finished.
Now you'll need to sew a slightly curved line to form the back of the pod (so it'll end up looking kinda like a boat). Put the peas into the pod leaving their faces showing. Once you're happy with their position, use a pin to note where the lowest point of the pod should be. Remove the peas and sew a slightly curved line, higher towards each end and lower in the middle to form the pod seam:
 |
| Kinda like a boat |
Felt is very forgiving when it comes to hand stitching so don't worry if your line is wonky (like mine!).
Almost done. Just cut off the excess felt below the curved line leaving a small seam allowance, turn the pod inside out and pop in the little peas.
Et voila, you're done! You can sew or glue the peas to the pod if you're making these as a keyring decoration. I've left them loose because my kid likes to pop them in and out of the pod for fun.
Hope you've enjoyed the tutorial! As per usual if you'd like to share this pattern feel free to link but please don't copy and paste. Limitless gratitude will be offered to anyone who spots typos, errors, or possible improvements. Please like me on
facebook and
instagram if you're into cuteness overload.
#cute crochet #kawaii #crochet tutorial #amigurumi #amigurumi tutorial #free pattern


.heic)


